



 Features

- Disk space:
30 Go - Use Gmail with your domain:
Included - Professional email address:
1 - Shared calendar:
Included - Google Meet and video conferencing:
Included - Word Sheets Excel Spreadsheets:
Included - Redirect emails:
Included - Keep Notes :
included - Google Cloud:
included
Simplify your work methods.
Google Workspace is designed to meet very strict privacy and security standards, based on industry best practices.
A personalized email address @yourcompany
Strengthen customer trust by giving each of your employees a professional email address within your domain, such as suzanne@yourcompany and jean@yourcompany. You can also create mailing lists such as sales@yourcompany.
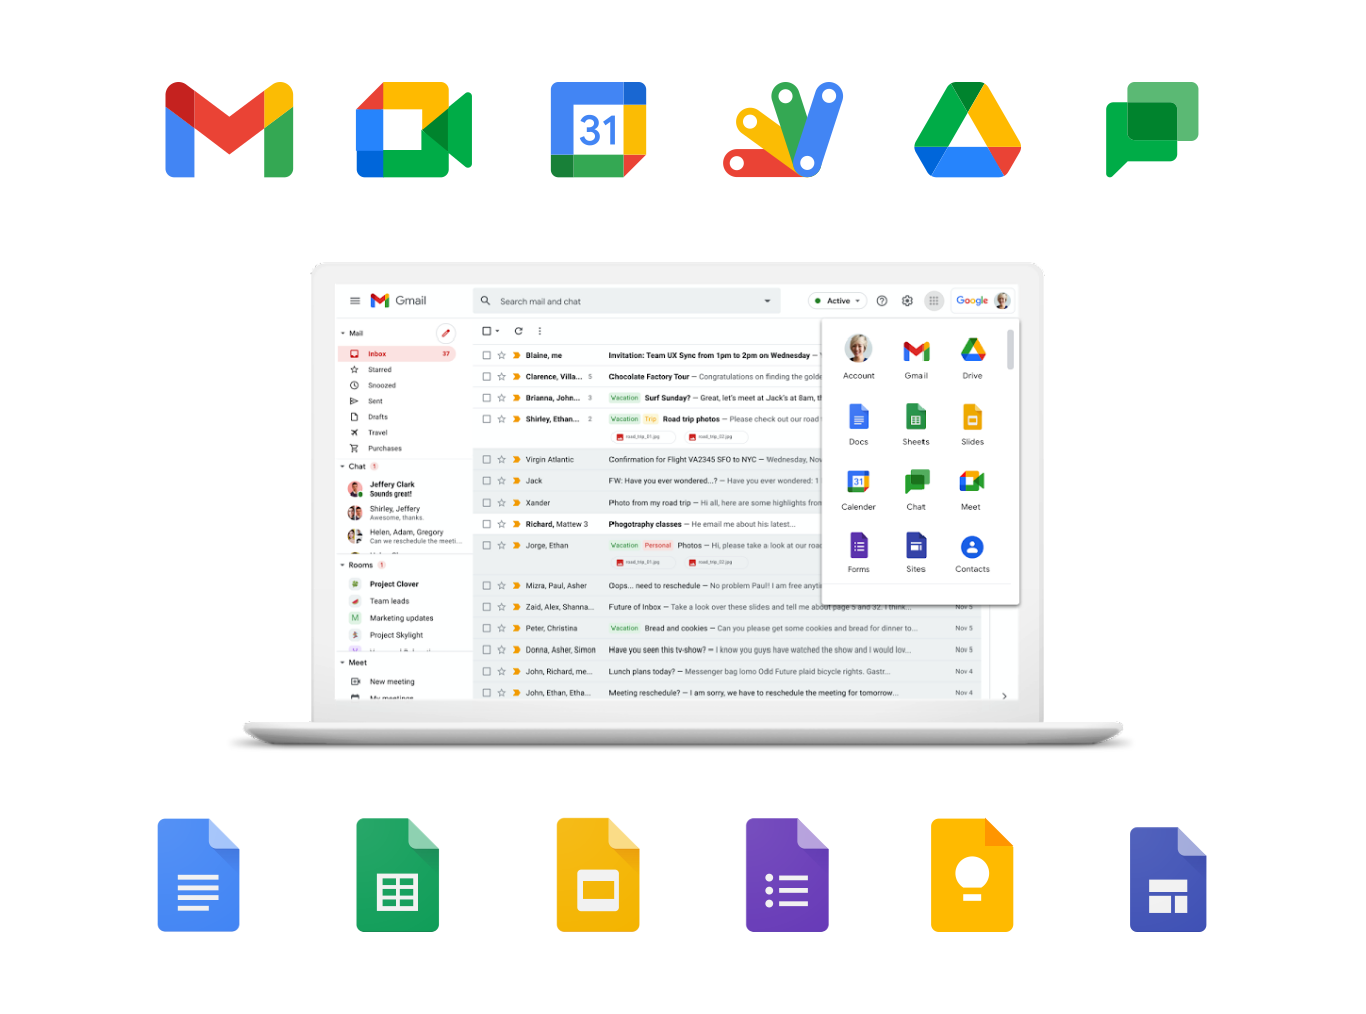
Working remotely has never been easier.
Google Workspace lets you bring together all the tools your team members need to collaborate and be more productive: business email, video conferencing tools, cloud storage and file sharing features.
Our advantages

Our services are automated to guarantee you total control and centralized management.

Depending on the service, you will be refunded within 3 to 30 days if you are not satisfied.

Several payment methods are available, including international and Moroccan bank cards, credit cards, and PayPal.
Included apps
Everything you need to do anything

Gmail
Personalized and secure professional email, and much more

Drive

Calendar
Integrated online calendars, designed for teamwork

Chat & Meet
Secure video conferencing, simplified messaging for teams
Docs, Sheets & Slides
Secure text documents, spreadsheets, and presentations

Forms
Create surveys and forms with ease
Frequently Asked Questions
Objective answers to frequently asked questions
- Please find below the steps to follow to configure your Zimbra email accounts in Outlook and on smartphones and tablets:
1. Open Outlook
2. Click on the Tools menu and then on Account Settings...
3. Click on the New button to register a new email account
4. Check the box in the bottom left corner: "Manually configure server settings or additional server types". 5. Click the Next button. 6. Choose: "Internet Email" and Next. 7. On this page, you need to enter the following information: Your name: Company Name Email address: for example, contact@domainname.com Account type: POP3 (IMAP is recommended) Incoming mail server: webmail.ma Outgoing mail server: webmail.ma Username: Your email address (e.g., contact@domainname.com) Your password: Use the password for this account. 8. Then click the "Additional settings" button. 9. In the Outgoing Server tab, check the box "My outgoing server requires authentication to connect". 10. In the Advanced Options tab: The Incoming Server port is 993 (Check the box "This server requires an SSL encrypted connection") The Outgoing port must be 587
11. You can click OK, Next, and Finish
- Les spammeurs ne peuvent pas accéder directement aux ordinateurs pour subtiliser les données personnelles.
Toutefois, ils peuvent amener les utilisateurs à ouvrir des messages ou des pièces jointes contenant des logiciels malveillants, créant ainsi une brèche dans la sécurité du PC.
- While phishing attempts are becoming increasingly sophisticated these days, a fraudulent email often displays warning signs that can be spotted:
an enticing offer, a suspicious appearance, an unexpected attachment, a made-up sender address
- Configure MX records in your domain name's control panel Step 1: Log in to your domain registrar's account. Step 2: Go to your domain's MX records page. Step 3: Delete all existing MX entries. Step 4: Add new MX records: webmail.ma priority 10